Installing the DS License Server on Windows | ||
| ||
- Log on as an administrator.
- Insert the media into the drive.
If the DS License Server is distributed on an assembly media, go to the directory containing the DS License Server software, locate the SetupDSLSmsi.exe file and double-click it to start the installation.
In either case, a dialog box appears informing you that the installation is about to start, followed by the DS License Server setup wizard:
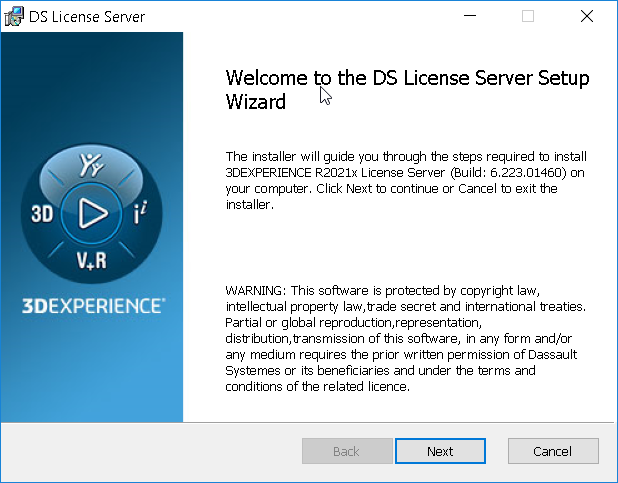
Click Next.
- Specify the installation folder and installation type.
The Installing DS License Server dialog box appears:
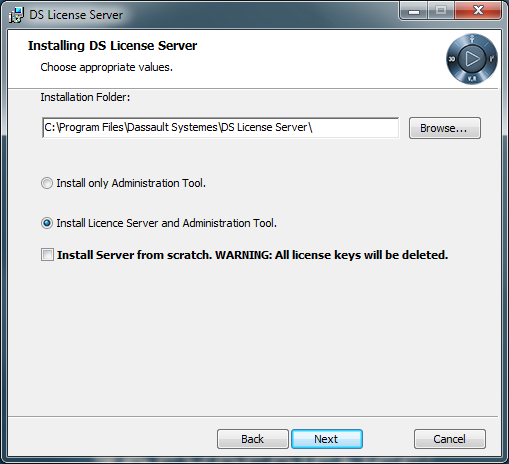
The default destination folder is:
C:\Program Files\DassaultSystemes\DS License
              Server
If you want to change the destination folder, click Browse... and navigate to select another folder and click OK.
The folder you choose must be empty. You can also specify a new folder: if the folder does not exist, you will be prompted to specify that you want the folder to be created, in which case you must click Yes to create the folder.
Then select the installation type. You have two choices:
- Install only Administration Tool
- Allows you to install only the License Administration Tool. See Installing Only the License Administration Tool on Windows for more details.
- Install License Server and Administration Tool
- Default option.
In our example, we are going to install both the License Server and the License Administration Tool, which is the default option : Install License Server and Administration Tool.
- Decide whether to install from scratch or not.
Installing from scratch means that you are installing the DS License Server and also deleting all previous licenses in the license repository. This may be necessary, for example, if your licenses have been corrupted. To do so, select the Install Server from scratchoption. The warning is displayed again, informing that all licenses will be deleted if you continue:
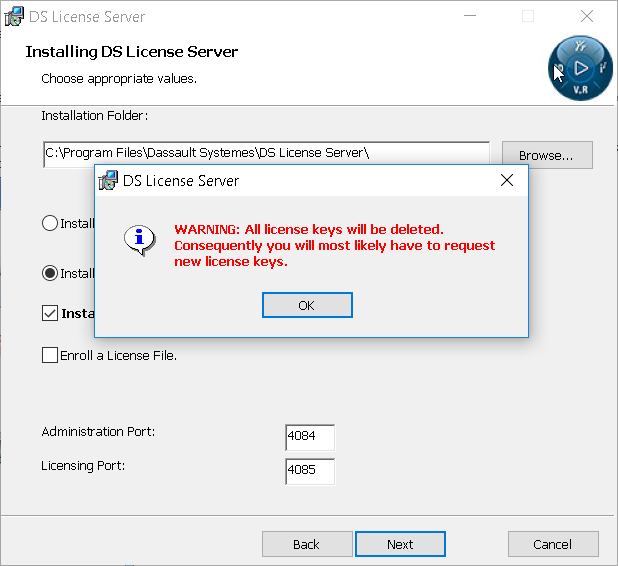
You can install the license server and use the existing licenses, for example when you are upgrading the license server. In this case, the options enabling you to enroll a license and specify ports are not displayed.
Click OK to clear the warning, then choose whether to continue installing from scratch, or unselect the check box if you want to keep your existing licenses.
If you decide not to install from scratch, you will be ready to launch the installation. Note that you will need to configure and activate the license server later.
If you decide to install from scratch, additional options become available, enabling you to enroll a license file and configure and activate the license server at installation time:
- Administration Port
- The port number you set is used to listen to DS License Server administration tool requests. The default is 4084.
- Licensing port
- The port number you set is used to listen to licensing client requests. The default is 4085.
- Enroll a License File
- Check this option and browse to select a license file to quickly enroll your licenses at installation time. This option will be displayed at this point in the installation if no existing licenses are detected on your machine.
If you do not specify different ports now, the default port numbers will be used.
Click Next.
-
Install the DS License Server.
The Ready to install DS License Server dialog box appears:
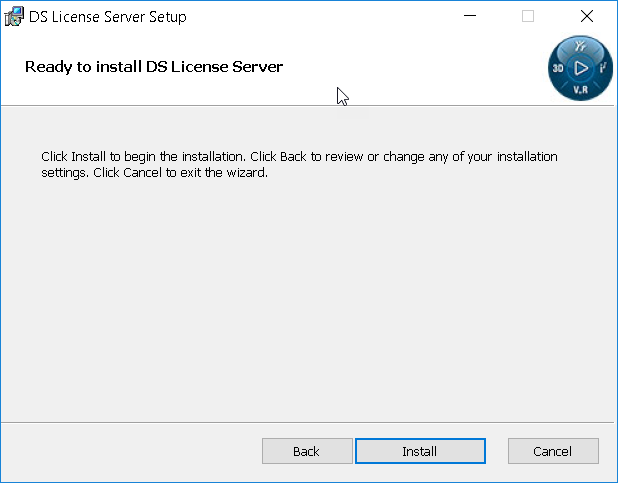
Click Install to install the DS License Server. If the UAC prompts you to confirm, click Yes.
A progress bar is displayed while the DS License Server files are installed and the corresponding Windows service is started. Once the installation has been completed, the following dialog box appears:
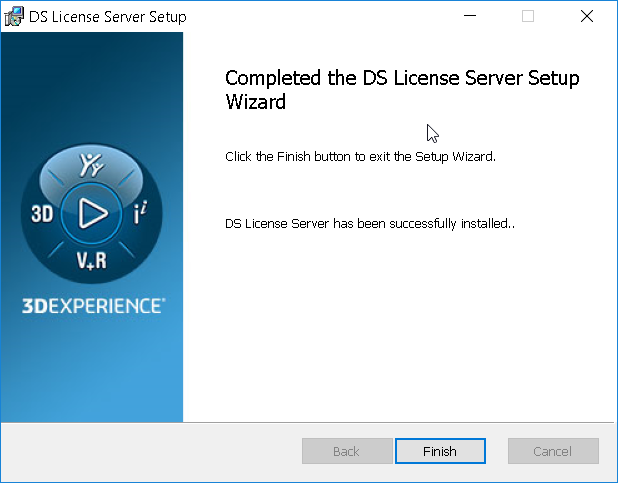
The License Administration Tool is launched automatically.
-
Click Finish to exit the setup wizard.
If you are installing the DS License Server for the first time (in which case, no previously configured License Administration Tool settings are present), the Server Definitions tab is displayed with the License Server Connection Parameters dialog box in the foreground:
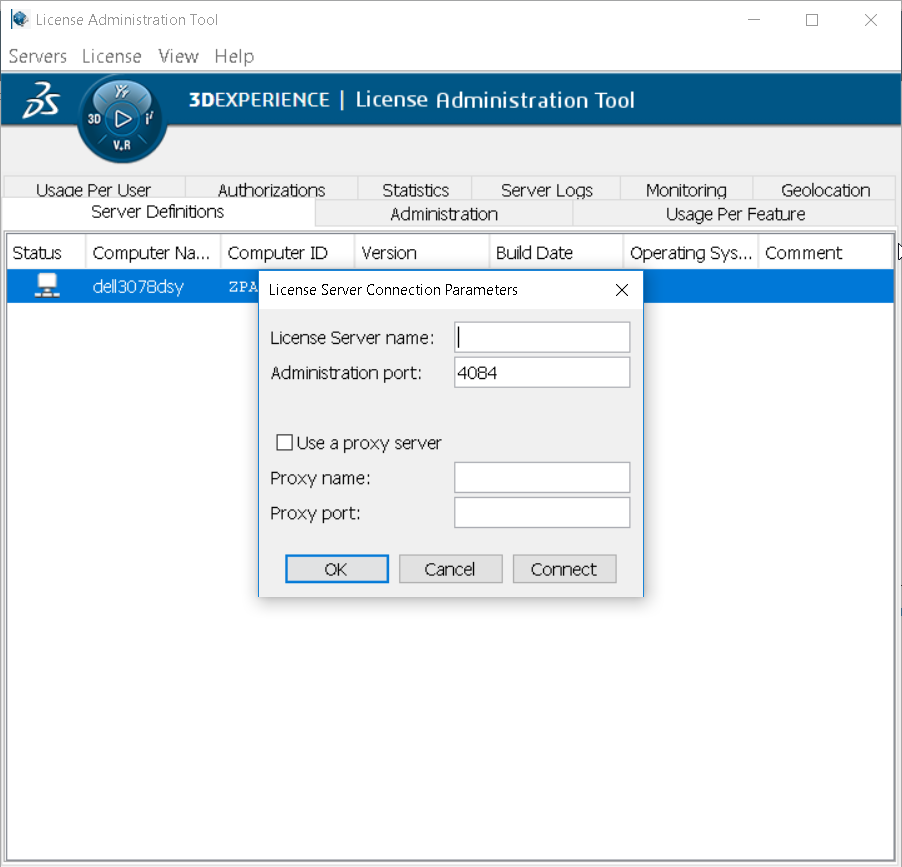
The license sever name field contains the name
localhostby default, but you can of course specify another name. -
Specify the license server by typing its name in the License Server
Name field, specify the listening port number for the
Administration tool.
As you type the name, the name will be displayed in red characters until the full name you specify has been detected, in which case the name is displayed in black.
Note: The Administration tool may communicate with forward and reverse proxies. For more information, see Communicating through Forward and Reverse Proxies.Click OK to confirm.
The Server Definitions tab now looks like this:
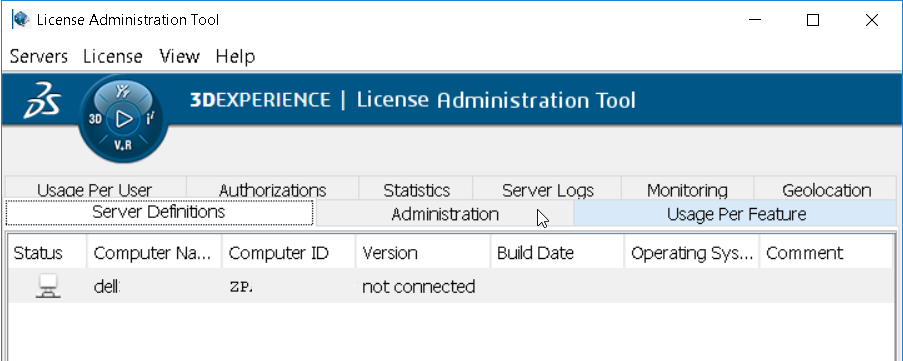
The server name has been specified, but the server is not yet connected.
If you point to the
 icon in the status column, next to the computer name, a message
like this will be displayed:
icon in the status column, next to the computer name, a message
like this will be displayed:server xxx not connected
where xxx is the name of the computer on which the server is being installed.
- Connect to the license server.
To do so:
- Select the Servers - Connect command and select the server name from the list.
- Or, select the Servers - Connect all command.
-
Or,
point to the
 icon, right click and select the Connect
command.
 - Or, double-click on the icon.
If you did not enroll a license during the installation, the
 icon appears over the
  computer icon
  .
.Pointing to the
 icon displays the following message:
no license enrolled
The Server Definitions tab contains the following fields:
- Status
- Status of the license server.
- Computer Name
- Name of the machine hosting the license server.
- Computer ID
- Computer id of the machine hosting the license server.
- Version
- Software version number.
- Build Date
- Software version build date.
- Operating System
- Operating system on which the license server is running.
- Comment
Contains an optional comment enabling you, for example, to distinguish one license server from another when several server definitions are displayed in the list.
To edit a comment, point to a line containing a server definition line, under the Comment column, and double-click: an editable field with a cursor is displayed. Enter the text, then click ENTER to validate.
The comment field supports NLS characters, including DBCS. A comment can be added and modified even if the connection to the license server is not established or is established in restricted mode. Editing comments does not modify the license server itself, but only the license administration tool user settings.
In the case of a failover cluster, each member has its own comment field.
When several lines are displayed in the Server Definitions tab, you can select multiple lines (using Shift or Control keys and left-clicking) to connect several servers at the same time, for example.
When selecting a failover, then connecting, the connection is made to the three members at once. If a password has been set, it has to be entered only once. To connect to only one member, do not select (left-click) but display the contextual menu (right-click) then connect.
When you select then copy (using Ctrl-C) one or more lines, the fields copied can be pasted together in any other text processing program (for example, Excel). You can also simply drag lines from the License Administration Tool and drop them into another program, without the need to copy then paste.
You can also sort the lines in ascending or descending order, by clicking on the appropriate column title.
Note: Both techniques work also in any tab containing table-formatted data, such as the Administration tab, Usage Per Feature, Usage Per User tab, or the Detailed License Usage dialog box.When the Server Definitions tab contains several lines, by default, the lines are displayed in the order according to the time at which the lines were added. The first line contains the first license server added. You can change this default order by dragging and dropping a line:
- click anywhere on the line you want to move to select it
- click the line again, and hold then move the line to the appropriate location
- release to drop the line at its new location: the next time you start the License Administration Tool, the line will be displayed by default at its new location.
Note: You can only move one line at a time.When you add a new server in the Server Definitions tab, by selecting the Servers > New or right-clicking in the tab and selecting Add new server, it is added to the server list bar and automatically pre-selected. This bar is displayed at the top of the following tabs: Administration, Usage Per Feature, Usage Per User, Statistics and Geolocation.
You must configure the firewall on the machine hosting the license server to enable license clients to access the license server, using the port numbers specified in Port Management.
You must then configure the server as a standalone server or a member of a cluster in failover mode and activate it before being able to use it, as explained in Configuring and Activating a Standalone License Server and Configuring and Activating a Cluster in Failover Mode respectively.
The installation results in the following:
- a DS License Server is installed on the local machine
- the service DS License Server is added to the list of Windows services, and is started automatically in the Network Service account
- an installation log file is created in:
%TEMP%\DSLSmsi.log
- in the Start -> All Programs menu, the entry DS License Server is added, containing the commands License Server Administration and License Server Documentation.