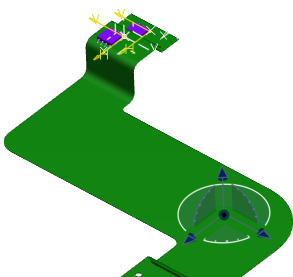
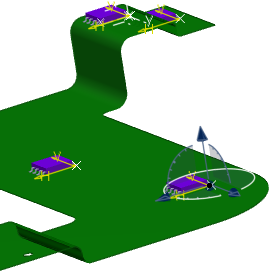
Place Components with an Axis System
You can create an axis system and use it to position components.
-
From the Edition section of the action bar, click Axis
 to create an axis system on the flexible board.
Note: For more information about creating an axis system, see Part Design User's Guide: Using Miscellaneous Tools: Defining an Axis System.
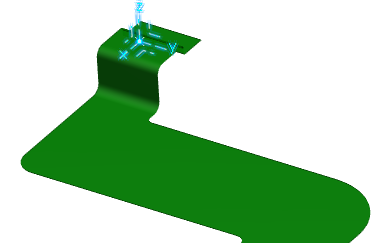
-
From the Edition section of the action bar, click Place and Move
Component
 .
The Component Placement dialog box appears.
 -
Select an axis system:
- Under Position, select the Axis option.
-
Under Constraint Mode, select one of the following
modes:
- Direct
Note: With this mode, constraints are created on the component.
- Use intermediate product
Note: With this mode, constraints are created on the subproduct.
For more information, see Place Components within an Intermediate Product below.
- Direct
-
In the tree, select an axis system.
The name of the selected axis system is displayed in the axis box.
Important: - The axis system must be compliant with the following rules:
- The center point must be on a plane of the top or bottom board or on the surface of the top or bottom board.
- The axis system must be direct.
- The plane defined by X axis and Y axis must be on the top or bottom face.
- The Z axis must be normal to the top or bottom face.
- The Z direction should be opposite to the material direction (extrusion).
- The axis system must not be placed on a hole or cutout.
- If the selection of the axis system is not compliant with the rules
described above, the selection is not forbidden but the following message appears:
Axis System is not compatible for placing component.
If there is an ambiguity to find the face on which the component should be placed, you must select the face manually.
- The axis system must be compliant with the following rules:
- Optional:
If the component does not have an axis system, select the Add Axis
System check box under Component.
An axis system is automatically created and published at the origin of the component.
-
To select a component, do one of the following:
- In the work area, select a component.
- Under
Component, click
Browse
 to search and select a component in the database.
Note: For more information about searching, see Native Apps Common Services: Search: Using the Content Chooser.
The name of the selected component appears in the Selection box.Important: An error message is displayed if: - No axis system is defined and if the Add Axis System check box is not selected.
- The Use axis system for placement option is set to No and if the axis system is not at the center of the component's representation. For more information, see Native Apps Preferences Guide: Electrical and Electronic Systems : Circuit Board Design: Board Assembly
Tips: - To modify your selection, you can select another component in the work
area or click
Browse
 .
.
- To cancel your selection, click in the Selection box.
-
Click OK.
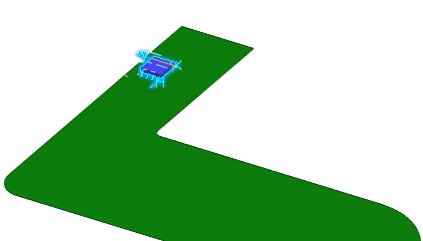
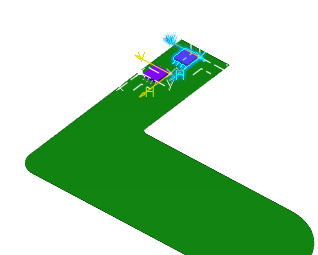
The selected component is placed on the flexible board.

In the tree, the component is instantiated under the root board assembly with publications and connections.
-
From the Edition section of the action bar, click Fold/Unfold
 .
The added component keeps its position during the Fold/Unfold process.
-
To create an instance of an added component:
-
From the Edition section of the action bar, click Place and Move
Component
 .
The Component Placement dialog box appears.
 -
Select a component already placed on the board.
The name of the selected component appears in the Selection box.
- Under Component, select the New Instance check box.
-
Click OK to validate.
An instance of the first placed component is added on the flexible board.
Warning: - If the component selected for instantiation is in read-only mode, this mask
 is displayed
on the component icon in the tree and a warning message appears.
 - If the component instance is already placed or constrained by an engineering connection, an error message is displayed and you must destroy the engineering connection manually and relaunch the command.
-
From the Edition section of the action bar, click Place and Move
Component
