Creating a Circular Pattern | |||||||
|
| ||||||
- From the Transform section of the action bar, click Pattern
 .
The Pattern dialog box appears.
.
The Pattern dialog box appears. - Click Circular Pattern
 to access the parameters specific to this type of pattern.
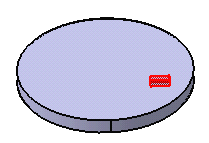
 - Select a feature to
pattern.
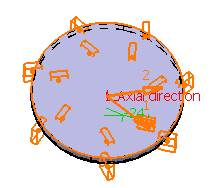
Important: To define a direction, you can select an edge, a line, a planar face or a plane. After selecting an edge, a line or a planar face, if necessary, you can also select a point to define the rotation center. If you select a plane, selecting a point is mandatory. - Enter an angular spacing.
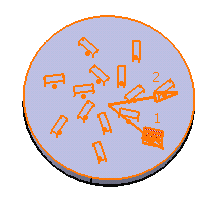
The circular pattern looks like this:

- Enter a value in Circles.

- Enter a value to define Circle spacing.
- Enter a value in Row in angular direction.
The initial protected prism as well as the instance nest to it are slightly moved in the angular direction.

Enter a value in Radial direction to make the instances of the crown move in the radial direction.
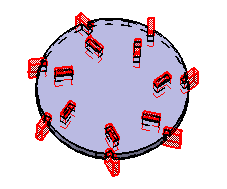
Important: The Radial alignment of instances option allows you to define the instance orientations. By default, the option is selected, meaning that all instances are normal to the lines tangent to the circle as illustrated below: 
If the option is cleared, all instances have the same orientation as the original feature. - Click OK.
Circular Pattern.x is added to the tree in the Solid Functional Set.x node.
Tip: Clicking an instance once removes the instance from the specifications.