Lining up Dimensions (Reference) | ||||||
|
| |||||
-
Select the dimensions to be lined-up.
Important: When selecting the dimensions, make sure that they belong to a single, coherent system (if you select dimensions which could form two different systems, you could get unexpected results). Note that if none of the following conditions is satisfied, then Line-Up identifies more than one dimension systems out of the selected dimensions:
- At least one of the extremity points of a dimension lies on the same side, as that of corresponding extremity point of the other dimensions.
However, note that, the identification of corresponding extremities of a dimension depends on the order of the selection of elements while creating the dimension.
- The farthest extremity point of a dimension lies on the same side, as that of the farthest extremity point of the other dimensions.
- At least one of the extremity points of a dimension lies on the same side, as that of corresponding extremity point of the other dimensions.
- Right-click and select Line-up.
-
Select the element that will be used as a reference for
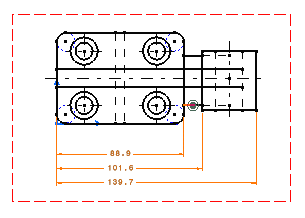
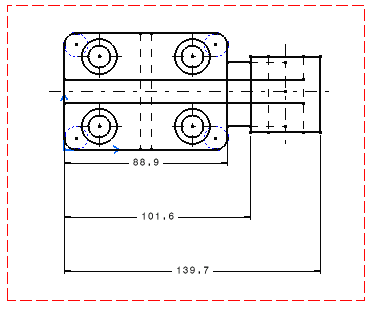
positioning dimensions, as shown here:

- In the Line Up dialog box, enter the desired value for the offset to reference. For example, 20in.
-
Enter the required value for the offset between dimensions.
For example, 30in.
Important: Two fields are available for both these options: - The first field is dedicated to length, distance and angle dimensions. It is defined with
the Paper Unit (defined in
Me
 > Preferences > App Preferences > 3D Modeling > Mechanical Systems
> Drafting > General expander. For more information, see General.
 - The second field (grayed out in our example) is dedicated
to radius and diameter dimensions.
Whether a field is active depends on the type of dimension selected.
- The first field is dedicated to length, distance and angle dimensions. It is defined with
the Paper Unit (defined in
Me
- Optional: Select Align stacked dimension values check box to align all the values of a group of stacked dimensions on the value of the smallest dimension of the group.
-
Optional: Select Align cumulated dimension values
check box to align all the values of a group of cumulated dimensions with respect to its orientation reference.
Note: The values are aligned only if their orientation reference is the dimension line. You can define this parameter through Me
 > Preferences > Standards > Drafting > [StandardName] > Dimensions > Cumulate Dimension: Value Orientation Reference. For more information, see Dimension Parameters.
Alternatively, you can edit the dimension system properties to change the dimension values alignment. See System Tab for more information.
- Make sure the Only organize into systems check box is not selected.
-
Click OK to validate.
The smallest dimension is positioned with an offset of 20in according to the selected element. The offset between each dimension is equal to 30in.
