-
From the View Layout section of the action bar, click Principal Views
 . .
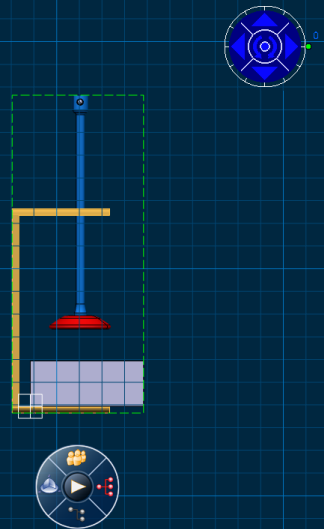
The preview of the 2D view frame along with the robot is displayed in the sheet. Depending on a possible selection, the robot lets you change either the primary view type (no selection), or the view box orientation.

-
Click on the sheet to position the new view.
The View Creation dialog box appears.
-
In the Style list, select the generative view style of your choice or select (No Generative View Style) if you do not want to apply a generative view style.
Note:
- When you create a view by applying a generative view style, the selected style gets embedded in the layout. However, if the generative view style file that was set on a view is updated, the style embedded in the view itself is not updated, unless you do so specifically.
- You can update the embedded version of the generative view style with the newer version by clicking Update in the Generative View Styles dialog box available from Tools > Generative View Styles.
- If you want to disassociate the current embedded generative view style from the view, you can right-click a view and select (No Generative View Style) from Properties.
The selected generative view style is applied to the view.
-
Click OK.
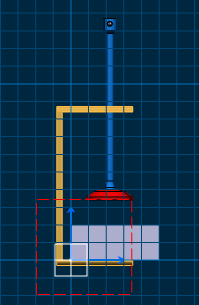
A primary view is created with the selected generative view style applied to it. The generative view style will be taken into account when generating a drawing (or a View from 3D in a drawing), from the layout view. The view displays a blue axis in a red frame. In addition, the FRONT item is added to the tree.

- Optional: Create a view from 3D. Refer to Creating a View from 3D for more information.
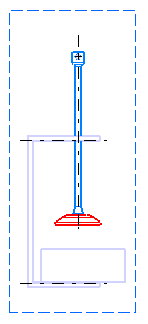
The view is created in the drafting using the selected generative view style. In our example, Color option is set to Yes in Tools > Standards > generativeparameters > [standard file] > Drafting > ViewDressup > 3DInheritance > Solid > Color. Note that you may obtain a different result. This result depends on the parameters defined in the generative view style you selected.

|
