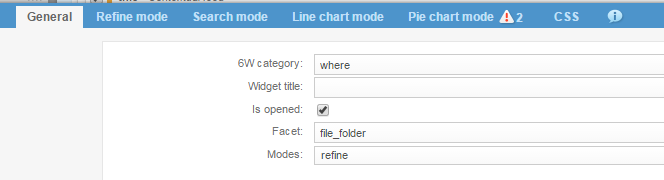
To add a category facet for an existing meta in the data model
Before you begin: In this procedure we will add a category
facet for the existing
file_folder meta. To
setup the i18n file, see Changing Text Labels in the OnePart UI. -
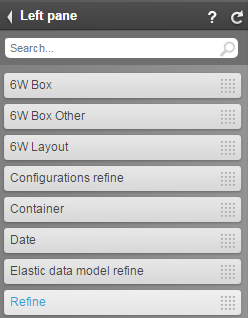
Select Category facet to add this meta as a facet to the search logic automatically.
By default, this meta property is only configured as an index field.

-
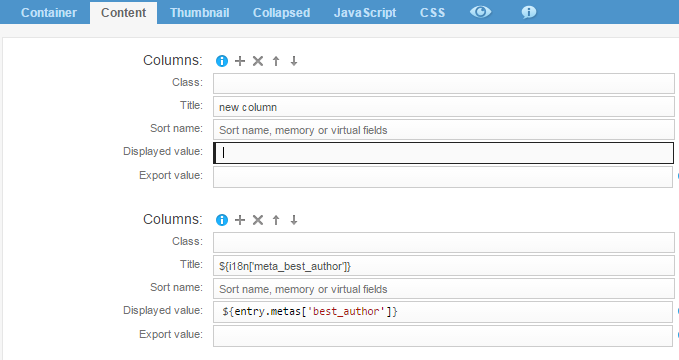
You see the configuration for the new facet including the Root path,
Top/ClassProperties/file_folder.