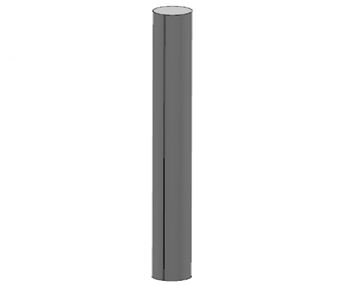
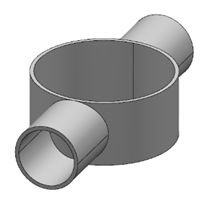
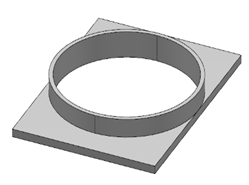
Create 3D Parts You can create 3D parts and apply material on them. In the top bar, select Add > Content. In the New Content dialog box, select Types > Steel Outfitting > Detail Outfitting Product . In the Detail Outfitting Product dialog box, specify the title (for example RoundStanchion) and the design range, and click OK.Notes: Make sure that the Create 3D Part check box is selected in the 3D Part tab.The Steel Outfitting Design app supports normal and large ranges only. Right-click the 3D Shape node in the tree and select Insert > 3D Shape.x > Geometrical Set to add a node (for example Geometrical Set.x).From the Geometric Operations section of the action bar, click Positioned Sketch and select a plane (for example xy plane).In the Sketcher app, draw a circle.For more information, see Sketcher User's Guide: Sketching Simple Profiles: Creating Circles. From the Compass, click Part Design Essentials. Create a stanchion by applying thickness to the 2D profile. For more information, see Part Design User's Guide: Sketch-Based Features: Creating Pads. Create the rail holders. Single 90 degrees180 degrees Create a stanchion holder. Apply material to the 3D parts. For more information, see Material Definition User's Guide: Applying Materials.
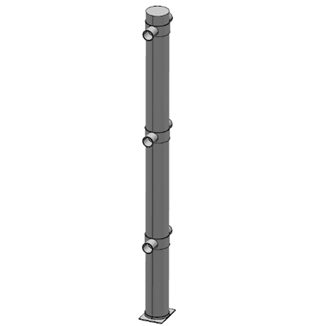
Assemble 3D Parts You can assemble 3D parts to create the outfitting product. Before you begin: Create the 3D parts. See Creating the Detail Outfitting Products. Perform steps 1 and 2 mentioned in the above sub-task. In the Detail Outfitting Product dialog box, specify the title (for example StanchionAssy_01) and click OK.Note: Make sure that the Create 3D Part check box is cleared in the 3D Part tab. Right-click the StanchionAssy_01 node in the tree and select Insert > Existing 3D Part.Select the 3D parts and create the assembly products.StanchionAssy_01: Assembly of the 180 degrees rail holdersStanchionAssy_02: Assembly of the 90 degrees rail holdersStanchionAssy_03: Assembly of the single rail holders
Define the Standard or Contextual Components You can define the created detail outfitting product as standard or contextual component to position it. Define the created detail outfitting products as standard or contextual components. See Creating Standard Components and Creating Contextual Components. Create catalogs of the components. See Adding Components to a Catalog and Adding Components to a Library.
 > Content.
 .
.
 and select a plane (for example xy plane).