Programming a Positioner | ||||||||
|
| |||||||
-
From the Arc section of the action bar, click Positioner programming
 .
You are prompted to select a robot or task.
.
You are prompted to select a robot or task. -
Select a robot or task.
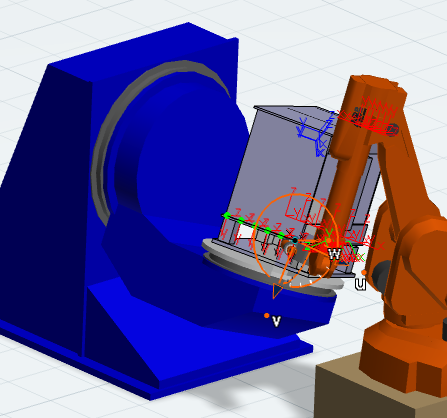
Both the robot and the positioner referenced by the robot task are highlighted. This helps you to distinguish the two pieces of equipment from the rest of the equipment that can be found on a factory floor.
The Positioner Programming dialog box appears.
The Results dialog box also appears.
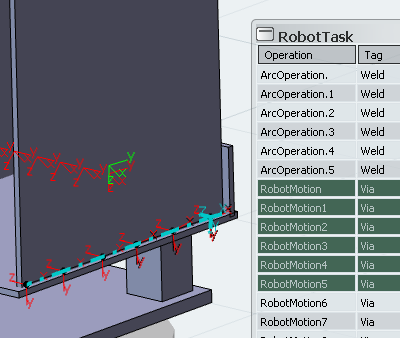
- Select an operation (or a set of operations) in the Results dialog box that require a specific position for the product.
The orientation Robot snaps to the tag for the selected operation.
In addition to selecting operations in the table, you can also select individual tags and entire trajectories directly in the work area. As shown below, a line that represents a trajectory appears when you hover over it. The resulting selection highlights all operations that belong to the selected trajectory in the Results dialog box.
A context toolbar also appears that provides the Flip positioner
 and Flip tool
  commands.
 Flip tool provides for variations of TCP z-axis orientation. Occasionally the orientation of a tag can cause an undesirable initial robot posture:
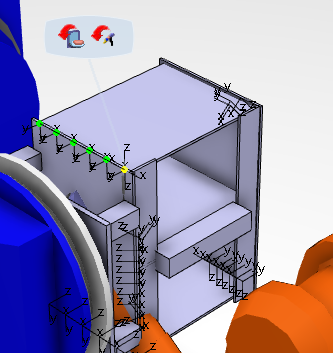
This posture can be corrected by selecting Flip tool
in the context toolbar: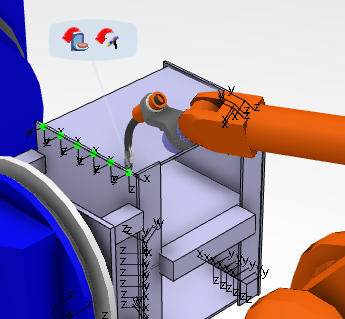
- Flip tool is performed only on the operations selected in the Results table.
- Flip tool is performed only on currently active joint(s). Active joints can be seen in the Joints column.
- You can continue to adjust the tool orientation by activating Reach and using the orientation Robot to adjust the roll angle.
When activated, Flip tool recalculates each of the Reach disc zones.
Flip positioner
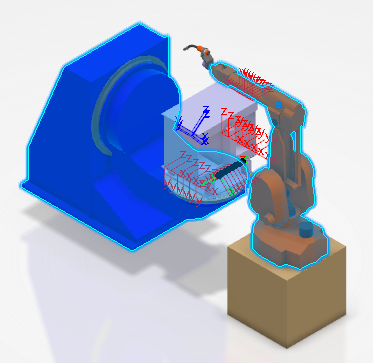
allows you to to maintain a desired tool orientation (Flat, Horizontal, Vertical). At the same time, positioner joint values are different and allow for better robot access, fixture collision avoidance, etc.The following image shows a trajectory that has six points, with three being unreachable and three that are classified as reachable yet out of limits (joint limits).

Using Flip Positioner, you can make all elements of the trajectory reachable.

- Repeat Steps 3 and 4 as necessary for each required position in the task.