Install 3DSpace Index
Context:
During setup, choose between the following install options:
- Single Search Server
- High Availability Main Server
- High Availability Secondary Server
- File Converter Only
- The File Converter handles file indexing. Install it on every File Collaboration Server (FCS). If the FCS lives on the same machine as the CloudView server, there is no need to install the File Converter.
- The setup installs a plugin called
ConsolidationServerRulesto manage the CloudView Consolidation Server.
-
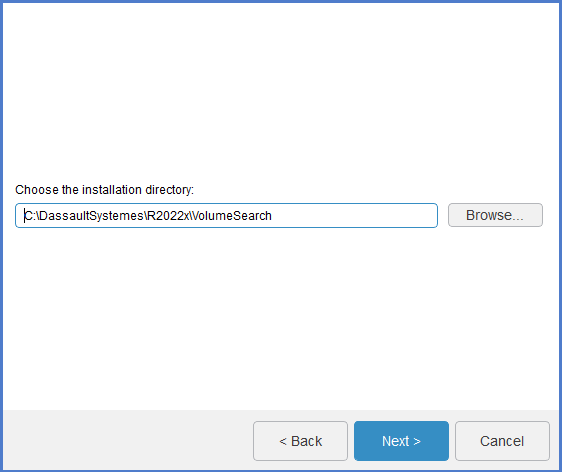
Specify the installation directory.
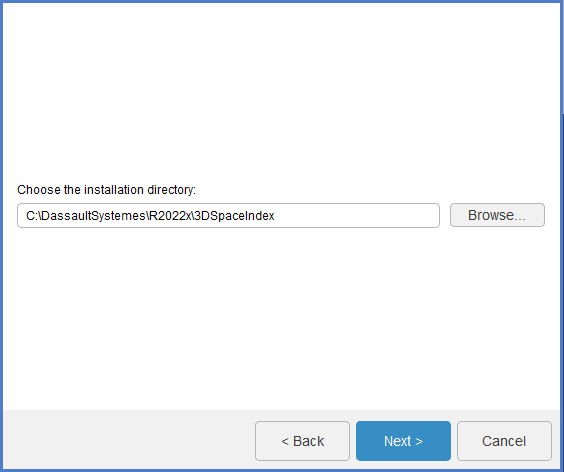
For example:
-
C:\ProgramFiles\DassaultSystemes\R2022x\3DSpaceIndexon Windows. -
/usr/DassaultSystemes/R2022x/3DSpaceIndexon Linux.
Note: The installation path cannot contain any space characters.Or, click Browse... To choose the directory.
Important: For Japanese installations, if you are installing on a Japanese Windows Server, the destination location must not contain Japanese characters. If it does, you cannot install the service. Click Next.
-
-
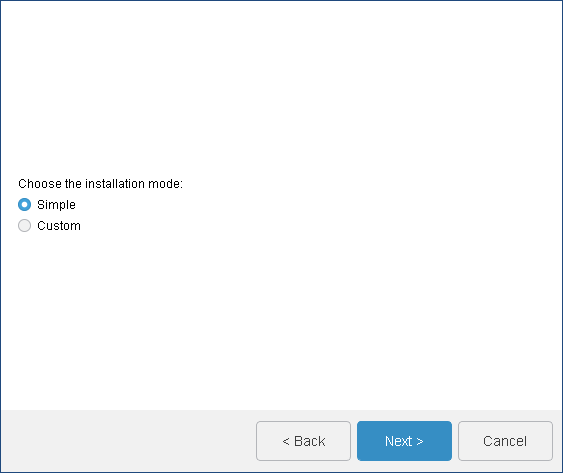
Select your installation mode:
-
Simple
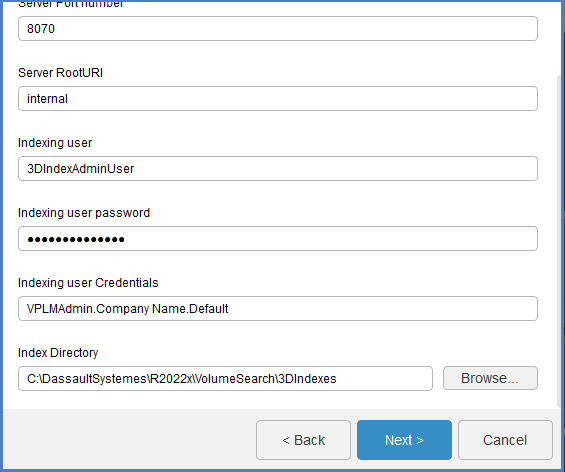
Enter:
- The server hostname and baseport.
- The admin password to connect to the CloudView Administration Console.
- Installation in non-HA mode.
- Default baseport is 19000.
- One slice.
- One analyzer.
- Embedded JDK.
Click Next and then Install to begin the installation. Go to step 11.
-
Custom
Follow installation steps below (6 to 10). Click Next to continue.
-
Simple
-
(Steps 6 to 10 only apply to
Custom installation type)
Select one of the following installation types:
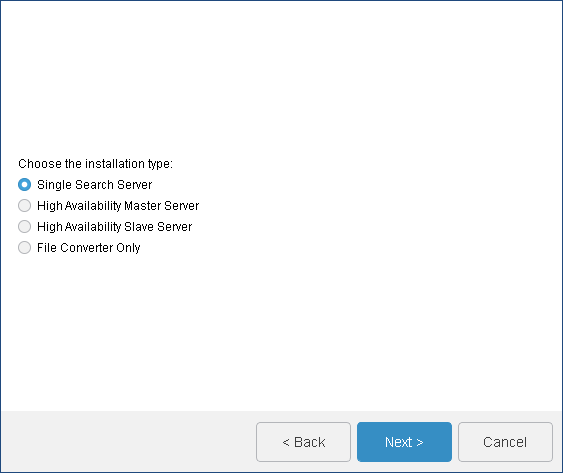
Installation type Description Single Search Server Installs the index/search server in stand-alone mode. Setup starts a Java application that uses system properties to determine the default parameters for the CloudView server.
The number of slices and the number of analyzers are based on the number of processors in the machine.
Important: For all production deployments, specify 1slice only during setup. This is mandatory to use the graph expand feature.High Availability Master Server High Availability (HA) mode includes one main server and one secondary server. Install them on two different machines. Both servers must have the same hardware specifications (for example, number of CPUs).
Install the main server before the secondary server. HA setup automatically pings the other server (secondary in a main install, or main in a secondary install) to ensure that it is reachable. Therefore installing the main server also requires the secondary server hostname and base port. If you do not want to ping the server, clear the Check Server Connection check box.
High Availability Slave Server The secondary server must use the same number of analyzers and slices as the main server. Beside entering the secondary server name and baseport, you have to enter the main server hostname and baseport. Main and secondary hostnames must match exactly.
Install the main server first as the secondary server synchronizes with the main server during installation.
Important: Start the AdvancedSearchXLservice on the main server before beginning the secondary server installation.Important: For all production deployments, specify 1slice only during setup. This is mandatory to use the graph expand feature.File Converter Only Deploys only the file indexing feature in the target machine. Install the converter server on the same machine as the File Collaboration Server (FCS).
If you are using additional FCS servers, install the File Converter for each FCS server.
Click Next to continue.
-
For
Single Search Server installation type only,
enter:
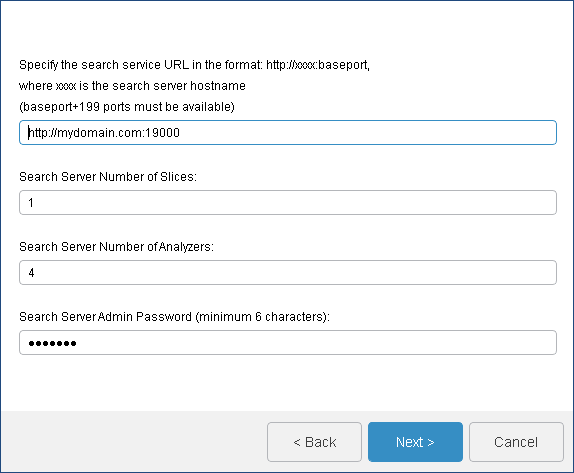
- The server hostname and the server baseport.
Important: Do not use ports within the range of ephemeral ports used by the operating system. If the specified baseport is not available, the installation fails. At the end of the installation process, the Errors.log file logs the following error: Port 19003 is not bindable. Start the installer again and specify another port.Important: Do not use uppercase characters in this URL (standard form specified in RFC3986). -
1for the number of slices. CloudView slices distribute the index across multiple processes. For more information, see Sizing Information and Hardware Recommendations.Important: For all production deployments, specify 1slice only during setup. This is mandatory to use the graph expand feature. - The number of analyzers. Analyzers distribute document processing across multiple
threads. By default, the field displays the number of CPUs for the server. To specify
the number of analyzers, the best practice is to use the following formula:
#
								of cores/2 = # of analyzers
. - The admin password to connect to the CloudView Administration Console
Click Next to continue.
- The server hostname and the server baseport.
-
For
High Availability Master Server installation
type only, enter:
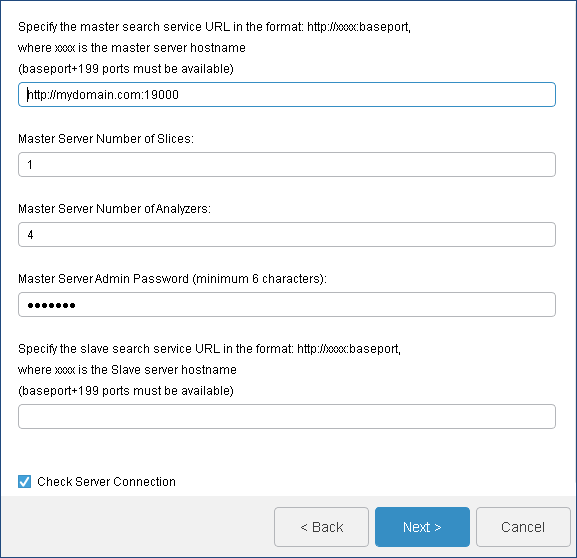
- The main server hostname and the main server baseport
Important: Do not use ports within the range of ephemeral ports used by the operating system. If the specified baseport is not available, the installation fails. At the end of the installation process, the Errors.log file logs the following error: Port 19003 is not bindable. Start the installer again and specify another port.Important: Do not use uppercase characters in this URL (standard form specified in RFC3986). -
1for the number of slices. CloudView slices distribute the index across multiple processes. For more information, see Sizing Information and Hardware Recommendations.Important: For all production deployments, specify 1slice only during setup. This is mandatory to use the graph expand feature. - The number of analyzers. Analyzers distribute document processing across multiple
threads. By default, the field displays the number of CPUs for the server. To specify
the number of analyzers, the best practice is to use the following formula:
# of cores/2 = # of analyzers.Note: In High Availability Master Server mode, both main and secondary servers must use the same number of slices and analyzers. - The admin password to connect to CloudView Administration Console.
- The secondary server hostname and the secondary server baseport. Note: The Check Server Connection check box allows you to verify the connection to the secondary server.
Click Next to continue.
- The main server hostname and the main server baseport
-
For
High Availability Slave Server installation
type only, enter:
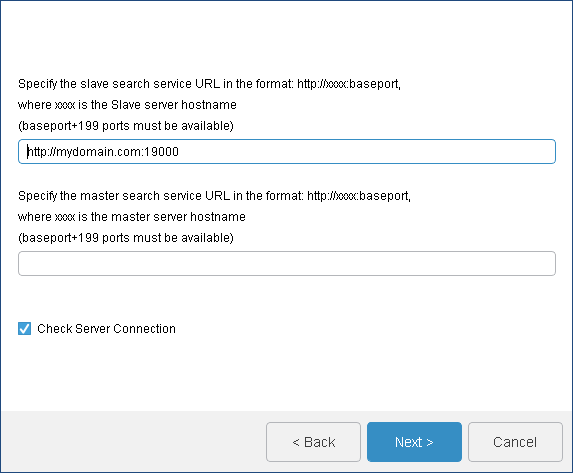
- The secondary server hostname and the secondary server baseport. Note: Install the main server before installing any secondary server. Also start the AdvancedSearchXL service on the main server before beginning the secondary server installation. The new secondary server synchronizes with the main server during installation.
Important: Do not use uppercase characters in this URL (standard form specified in RFC3986). - The main server hostname and the main server baseport.
Important: Do not use ports within the range of ephemeral ports used by the operating system. If the specified baseport is not available, the installation fails. At the end of the installation process, the Errors.log file logs the following error: Port 19003 is not bindable. Start the installer again and specify another port.
Click Next to continue.
- The secondary server hostname and the secondary server baseport.
-
For
File Converter Only installation type only,
enter:

- The file converter hostname and baseport.
- The admin password to connect to the CloudView
Administration Console.
Important: In R2022x, a defect prevents you from changing the default admin password, that is exalead. This limitation will be fixed in the next major release.Important: Do not use uppercase characters in this URL (standard form specified in RFC3986).
Click Next to continue.
-
For all installation types, specify the data path where you want to store the CloudView
DATADIR.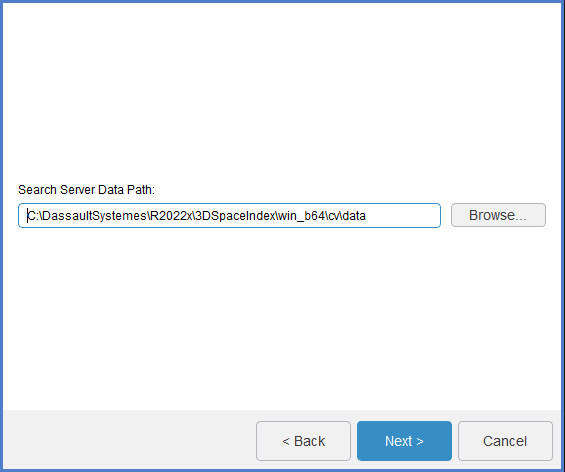
For ease of maintenance, keep the
<DATADIR>path separate from the<INSTALLDIR>path.Click Next to continue.